
Step 1
First you have to create your app on developer.facebook.com. After creating an app on the developer.facebook.com click on My Apps.

Step 2:
Click on your Business page link associated with the app.

Step 3:
After click on the business page link, Facebook business setting page will be opened, select System users.

Step 4:
In System users, Click on Add button to create a system user.

Step 5:
Fill the details such as System username as your business name and System user role as Admin

Step 6:
Click on Add Assets option

Step 7:
Select Apps > Name. Enable Manage app option and click Save changes.

Step 8:
Assets will be added successfully.

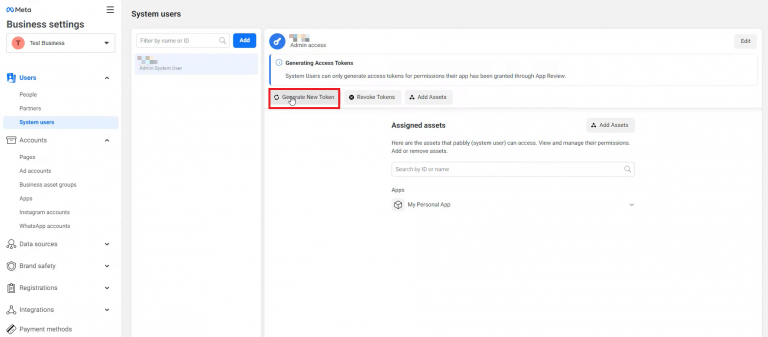
Step 9:
Click on Generate New Token.
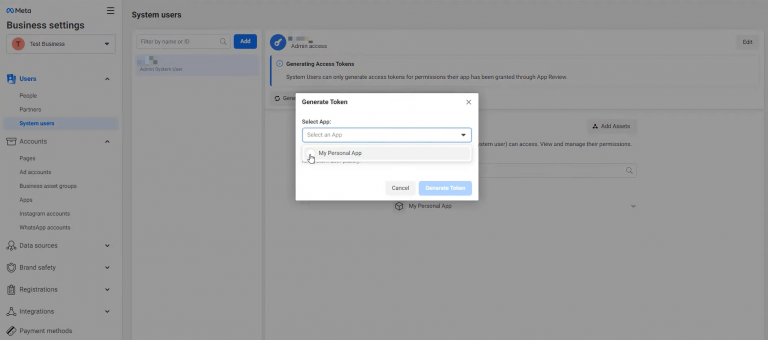
Step 10:
From the drop down select your app name.
Step 11:
After selecting the app, a list of all available permission will be shown.

Step 12:
For WhatsApp cloud API, you need to select whatsapp_business_messaging and whatsapp_business_management from the list and click on Generate Token.

Step 13:
Once you click on generate token, your permanent token will be generated. Save this token on your laptop/PC for integration purposes.
